Your pet’s ears are amazingly keen and pick up on every sound—for many reasons. Your pet’s ears help your pet stay safe by alerting them to dangers and threats, so regular ear cleaning is essential. However, sometimes this grooming task can be a struggle. Here, Memorial Animal Hospital explains the approach and techniques that will make cleaning your pet’s ears a breeze.
The right time and tools for pet ear cleaning
If you’re a novice at ear cleaning, you don’t want your pet to react poorly, so choose a time when they are relaxed and calm, such as after eating or a walk. Don’t clean your pet’s ears when they are agitated or excited, which will make the task more difficult.
Gather the supplies you need before you begin. These include:
- Specially formulated pet ear cleaner
- Cotton balls or pads
- A clean towel or rag
- Paper towels
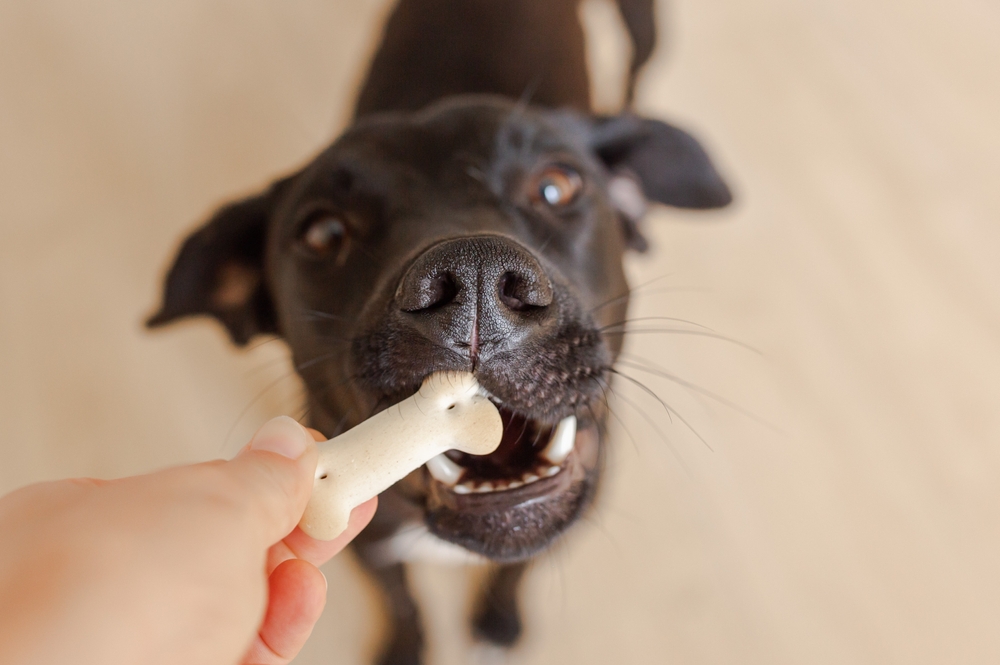
- Treats for rewarding a job well done
Get cozy with your pet in a quiet spot
Choose a quiet and comfortable area of your home. Sit or kneel beside your pet, place the towel underneath them, and reassure them with gentle petting and soothing words. Do not attempt to clean your pet’s ears in a busy area, because they will be distracted by the commotion. Also, cleaning your pet’s ears on a tiled or bare floor will make cleanup easier.
Easy steps to cleaning your pet’s ears
When your pet is relaxed in the quiet space, use the following steps to go about the task of ear cleaning
#1: Inspect your pet’s ears
Before cleaning, take a moment to inspect your pet’s ears for any signs of infection, irritation, or excessive wax buildup. If you see or smell anything unusual or concerning, such as a discharge or foul or yeasty odor, consult your veterinarian before proceeding. Be aware of the following signs of ear problems:
- Chronic head shaking
- Persistent ear scratching
- Dark discharge
- Redness or inflammation of the ear canal
- Foul odor
- Scabbing around the ears
- Ear pain (e.g., wincing when the ear is touched)
#2: Apply the cleaning solution
If your pet’s ears seem healthy with no signs of problems, gently lift the ear flap and apply a small amount of the cleaning solution into the ear canal. Be careful that you don’t insert the applicator tip too deep, so you don’t cause discomfort or injure the ear structures.
#3: Massage your pet’s ears
Gently massage the base of your pet’s ear for about 30 seconds to loosen debris or wax buildup and allow the solution to penetrate deeper into the ear canal.
#4: Allow your pet to shake their head
With fluid inside the ear, your pet will naturally want to shake their head. This is good, because the shaking will expel additional debris and cleaning solution. But watch out! When your pet shakes their head, the solution may fly. This is when you’ll need the extra towels for clean-up.
#5: Clean up any debris
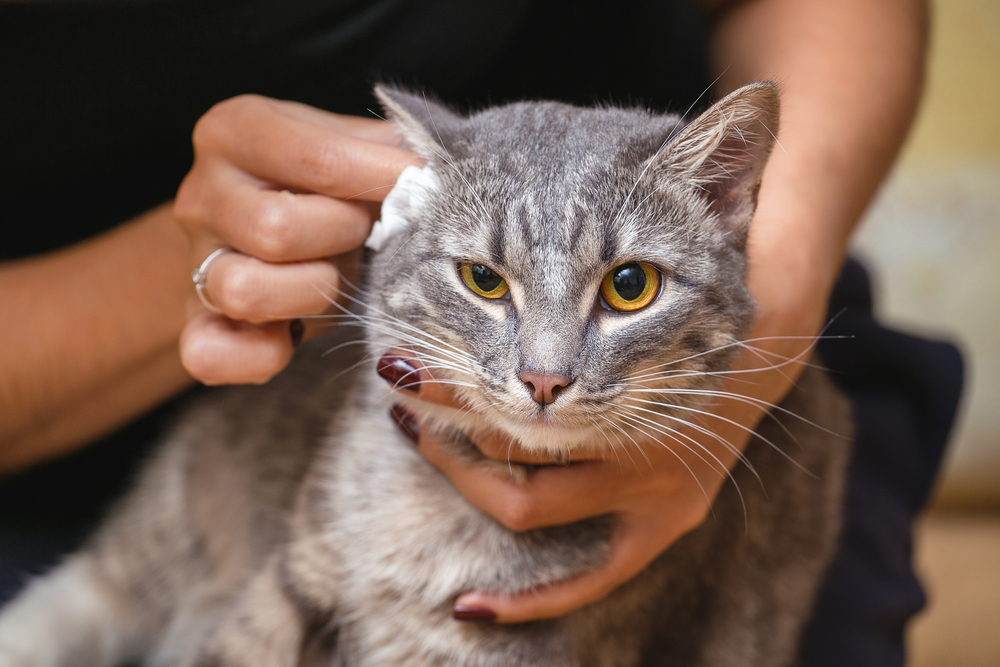
Using a cotton ball or cosmetic pad, gently wipe away any visible debris or excess cleaning solution from the outer ear and ear canal. Never use cotton swabs and never insert any item in the ear canal, which can damage the ear’s delicate structures, including the eardrum. If your pet’s ears are particularly dirty, repeat the process until they are clean, or seek help from our veterinary team.
#6: Reward with treats and praise

Once you’ve successfully cleaned your pet’s ears, reinforce their positive behavior with verbal praise, snuggles, and tasty pet treats. They will associate ear cleaning with a positive experience, and ear cleaning will become a pleasurable task.
Aim to clean your pet’s ears at least once a month—more frequently, if your pet has excessive ear wax. Note any changes to the ears’ appearance, odor, and waxy buildup, and if something seems out of the ordinary, promptly call our veterinary team.
Follow these simple steps and approach cleaning your pet’s ears with patience, positivity, and reassurance, and this important task will be stress-free for you and your four-legged friend. But, if you are having difficulty cleaning your pet’s ears—it’s no problem. Give us a call at Memorial Animal Hospital and we will be happy to help.


Leave A Comment